
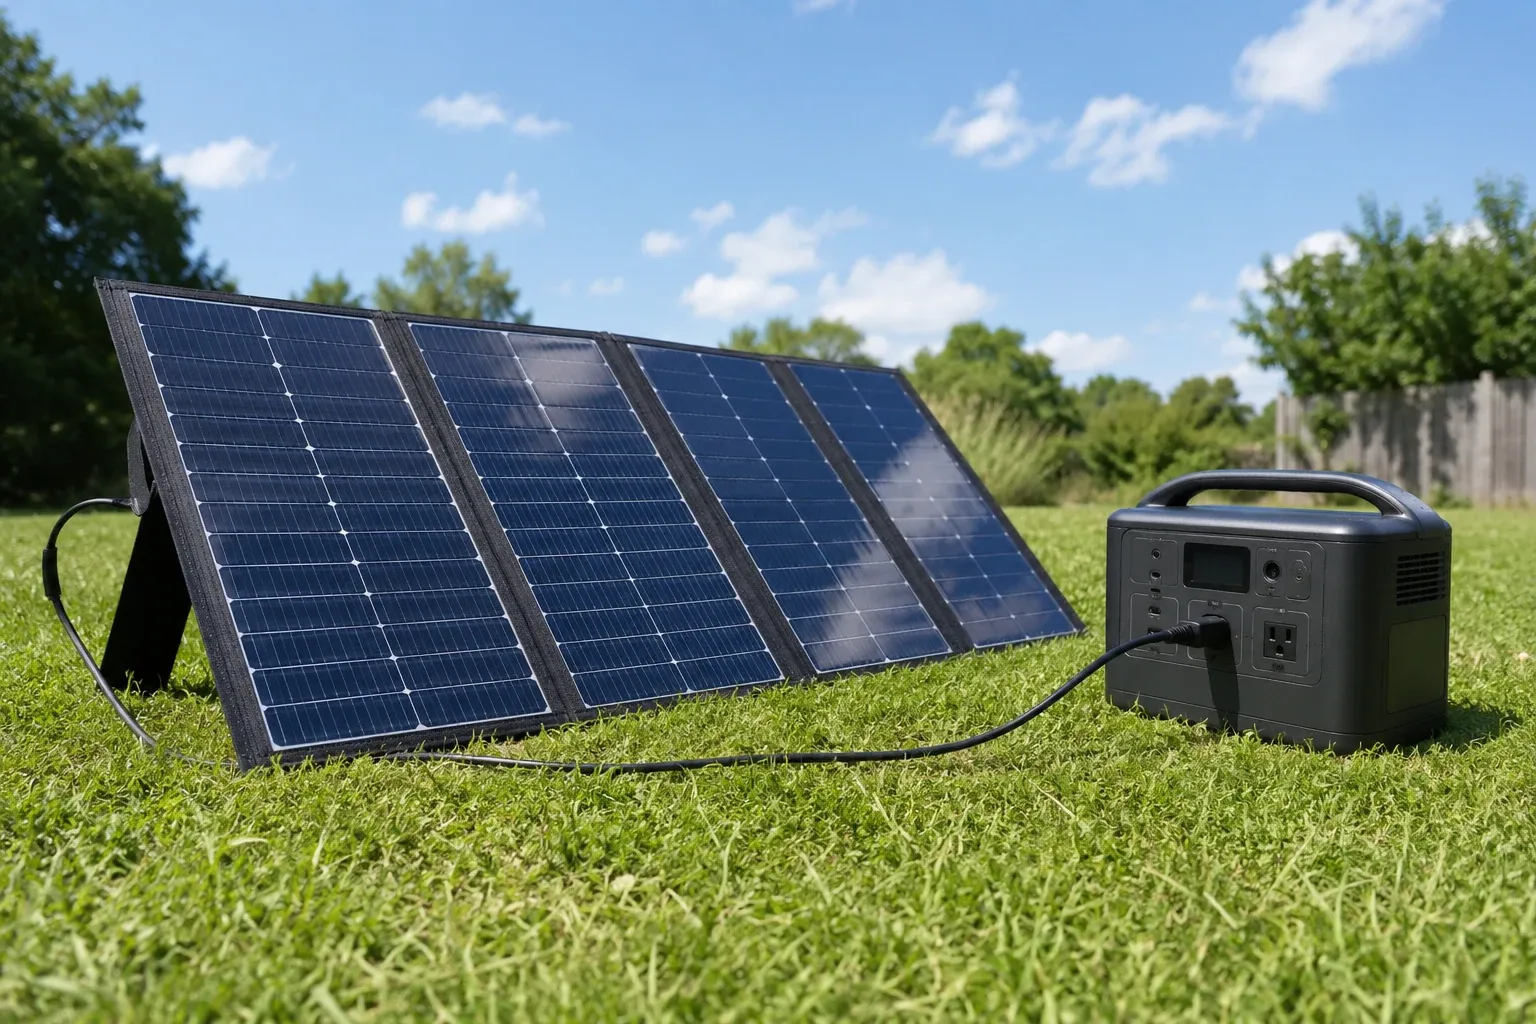
Pairing solar panels with a portable power station — what the market calls a “solar generator” — comes down to three numbers that have to line up: total panel wattage, panel voltage, and the connector. Get them right and the station charges from the sun every day with no intervention. Get the voltage wrong and the station simply will not charge — no error message, no warning, just a flat battery and a panel sitting in full sun doing nothing. This guide covers the math that makes a pairing work, how much solar you actually need for your capacity, and the wiring decisions that trip up most first-time buyers.
What a “solar generator” actually is
There is no such thing as a solar generator in the engineering sense. The term describes a portable power station (a lithium battery, an inverter, and a charge controller in one box) connected to one or more solar panels. The station already contains everything needed to accept and regulate solar input; the panels are the only thing added.
That distinction matters because it tells you where the constraints live. The panel’s job is to produce DC power. The station’s built-in charge controller decides how much of that power it can accept, and it is the controller’s specifications — not the panel’s — that set the rules for what you can connect.
The three numbers that must match
Before buying a panel, three values on the power station’s spec sheet decide everything:
- Maximum solar input (watts). The ceiling on how much power the station can pull from panels at once. Exceed it and the surplus is wasted; the station caps at its rated maximum.
- Solar input voltage range (volts). Usually written as something like “11–60V.” The panel’s open-circuit voltage must fall inside this window. This is the number most buyers ignore, and it is the one that causes “my panel won’t charge” problems.
- The connector. Almost every portable solar panel and power station uses the MC4 connector or ships with an MC4-to-XT60/8mm adapter. Confirm the station includes the adapter cable for the panel you are buying.
Wattage is forgiving — a panel rated below the station’s maximum input simply charges more slowly. Voltage is not forgiving. The next section is the one to read twice.
Voltage matching — the part everyone gets wrong
Every power station’s solar input has a usable voltage window. A typical mid-size unit accepts 11V to 60V. The panel you connect produces a voltage that depends on how many cells are wired in series, and the figure that matters is the open-circuit voltage (Voc) — the voltage the panel produces with nothing drawing from it, which is the highest voltage it will ever output.
The rule is simple: the array’s total Voc must stay inside the station’s input voltage range across the temperature range you will use it in. Two failure modes:
- Voc below the minimum. If the station needs at least 11V to begin charging and your panel’s Voc is 10V, the station never starts. You see 0W of input in bright sun.
- Voc above the maximum. If the station’s ceiling is 60V and your wired array produces 65V, you risk damaging the charge controller. Some stations protect against this and refuse to charge; others do not.
Worked example. Say each 200W panel has a Voc of 24V. The station accepts 11–60V.
- One panel: 24V — inside the window. Charges.
- Two panels in series: 24V + 24V = 48V — still inside the window. Charges, at higher voltage and the same current.
- Three panels in series: 72V — over the 60V ceiling. Do not wire this. Either drop to two in series, or wire the third in parallel (covered below).
One more wrinkle the spec sheets bury: Voc rises as temperature drops. A panel rated 24V Voc at 77°F can climb to 27–28V on a cold, bright winter morning. If your series array sits near the station’s ceiling at room temperature, a freezing morning can push it over. Leave roughly 10% of headroom below the maximum input voltage to absorb cold-weather voltage rise.
How much solar you actually need
Panel wattage on the box is a laboratory figure measured under “standard test conditions” — full perpendicular sun, 25°C cell temperature, clean glass. Real conditions never hit all three. The honest planning number is lower, and how much lower depends on conditions:
| Condition | Output vs nameplate | A “200W” panel delivers |
|---|---|---|
| Full midday sun, panel angled at the sun | 75–85% | ~150–170W |
| Full sun, panel lying flat | 60–70% | ~120–140W |
| Hazy / partly cloudy | 30–50% | ~60–100W |
| Heavy overcast | 10–25% | ~20–50W |
| Winter sun, low angle | 40–60% | ~80–120W |
Plan around the “full sun, angled” row for best-case daily refill, and the “hazy” row for the day that decides whether you run out. To translate that into how much panel you need, match the array to the station’s capacity and your daily draw:
| Power station capacity | Typical use case | Recommended panel array | Full recharge (good sun) |
|---|---|---|---|
| 300–600 Wh | Tent camping, devices, CPAP | 100W | 4–6 hours |
| 1,000–1,100 Wh | Weekend camping, 12V fridge | 200W | 6–8 hours |
| 2,000 Wh | Multi-day boondocking | 400W | 6–8 hours |
| 3,000–4,000 Wh | Full-time off-grid, home backup | 600–800W | 7–9 hours |
The logic behind the table: a 200W panel returning ~150W of real charging power delivers roughly 900–1,200Wh over a good day — enough to refill a 1,000Wh station and run light evening loads. Scale linearly from there. If solar is your only recharge path for multi-week trips, size the array 1.5–2× larger so a cloudy day does not bankrupt the battery.
Series vs parallel — and when to use each
When you connect more than one panel, the wiring topology changes the electrical behavior:
- Series (panel-to-panel, positive of one to negative of the next): voltages add, current stays the same. Two 24V/8A panels in series = 48V at 8A.
- Parallel (all positives joined, all negatives joined, via a branch connector): currents add, voltage stays the same. Two 24V/8A panels in parallel = 24V at 16A.
Which to choose depends on your station’s input window:
- Use series when one panel’s voltage is comfortably inside the range and you want to add panels without exceeding the input current limit. Series is the default for most two-panel setups because it keeps current low (less heat in the cable) and easily clears the station’s minimum voltage.
- Use parallel when adding panels in series would push Voc past the station’s voltage ceiling. Parallel keeps voltage flat and adds current instead — but watch the station’s maximum input current, which is often the real limit on cheaper units.
The practical takeaway: for two panels, series almost always works and is simpler. For three or more, do the Voc math first. If three in series exceeds the ceiling, run two strings in parallel (two-in-series, two-in-series, joined in parallel) to balance voltage and current.
MPPT vs PWM charge controllers
Every portable power station has a built-in solar charge controller, and there are two types. MPPT (Maximum Power Point Tracking) continuously finds the panel’s optimal voltage-current operating point and converts excess voltage into additional charging current — extracting 20–30% more energy than the alternative. PWM (Pulse Width Modulation) simply clamps panel voltage down to battery voltage, wasting the difference.
In 2026 there is no reason to buy a portable power station with a PWM controller; every credible unit from EcoFlow, Jackery, Bluetti, Anker, and Goal Zero uses MPPT. This matters when comparing a no-name unit against a known brand: if the spec sheet says PWM, or omits the controller type entirely, treat it as a red flag.
Portable (foldable) vs rigid panels
Two physical formats pair with power stations:
- Foldable portable panels are the default for camping, RV, and emergency use. They unfold, prop up with integrated kickstands, and fold flat for storage. They cost more per watt than rigid panels and are slightly less efficient, but they deploy in seconds and store behind a seat. Look for IP65-or-better junction boxes and MC4 output.
- Rigid panels (the framed glass panels used on rooftops) are cheaper per watt and last decades, but they are heavy, fragile in transit, and impractical to set up and tear down daily. They make sense permanently mounted on an RV roof feeding a power station inside, not as grab-and-go gear.
For anyone pairing panels with a portable station they actually move, foldable panels are the right format despite the price premium.
Five mistakes that waste money
- Buying more panel wattage than the station can accept. A 1,000Wh unit with a 400W input ceiling gains nothing from a 600W array. Match the array to the input rating.
- Ignoring Voc and wiring too many panels in series. The single most common reason a panel “doesn’t work.” Do the voltage math.
- Assuming nameplate wattage is real. Plan around 60–75% of the rated figure, not 100%.
- Leaving the panel flat. A panel lying on the ground loses 15–25% versus one angled toward the sun. Use the kickstands and re-aim it midday.
- Pairing a premium panel with a station that has a low input ceiling. The expensive panel is throttled to the station’s limit. Spend the money on a station with a higher input rating instead — see the recommendations below.
Power stations that pair well with solar
If you are building a solar setup from scratch, the station’s solar input ceiling matters more than its capacity. A higher ceiling means faster recharge and room to add panels later. Three that stand out:
- The Anker SOLIX C1000 has the highest solar input in the 1,000Wh class at 600W — the best entry point for a solar-first setup on a budget.
- The Bluetti AC200L accepts up to 1,200W of solar, enough to keep a 2,000Wh unit fully off-grid with a matching array.
- The EcoFlow Delta 2 takes 500W of solar and expands with extra batteries, making it a flexible base for a growing system.
For the full breakdown of capacity, inverter, and weight across the field, see our best solar generators for RVs roundup and the Jackery Explorer 1000 v2 review, where the 400W input ceiling is the spec that decides the purchase. Our solar generators overview covers the category from the top, and the home backup guide handles the indoor side. Every figure here follows the same testing methodology.
A worked example, start to finish
Take a concrete setup. You own a 1,000Wh power station with a 400W solar input ceiling and an 11–50V input window. You camp most weekends, running a 12V fridge (45W average), a CPAP overnight (35W for 8 hours), and phone and laptop charging through the day (call it 150Wh). What does the solar side need to look like?
Step 1 — daily energy draw.
- Fridge: 45W × 24h = 1,080Wh
- CPAP: 35W × 8h = 280Wh
- Devices: ~150Wh
- Total: ~1,510Wh per day
Add the inverter’s roughly 15% overhead on the AC loads and the real figure lands near 1,575Wh per day. That already exceeds the station’s 1,000Wh capacity, which settles one question immediately: solar is not optional here. Without daily refill, the battery is flat before the second night.
Step 2 — panel wattage to cover it.
You need to replace about 1,575Wh during daylight. A single 200W panel delivering a realistic 150W returns roughly 1,050Wh over seven hours of good sun — short of the target. Two 200W panels (400W nameplate, ~300W real) return about 2,100Wh over the same window, covering the daily draw with margin for a cloudy afternoon. Two 200W panels it is — which also happens to hit the station’s 400W input ceiling exactly. A third panel would be wasted money; the station cannot accept more.
Step 3 — voltage check.
Each 200W panel has a Voc of 24V. Two in series make 48V — inside the 11–50V window, but only just. On a cold morning that 48V can rise toward 53–54V and clear the ceiling. The safe move is to wire the two panels in parallel: voltage stays at 24V, current doubles to about 16A, and you stay well clear of the voltage limit. Confirm the station’s maximum input current can absorb the combined current — most 400W-input units can.
The result: two 200W foldable panels, wired in parallel, MC4 connectors, angled at the sun and re-aimed at midday. That setup refills the station daily and absorbs one bad-weather day before the battery runs low. The solar side costs roughly what the station costs — which is exactly why the station’s own solar input ceiling is worth checking before you buy either piece.
The short version
Pairing solar with a power station is three checks: total panel wattage at or below the station’s input ceiling, panel Voc inside the station’s voltage window (with cold-weather headroom), and a matching MC4 connector. Size the array to roughly 60–75% of nameplate for real-world planning, angle the panels at the sun, and use series wiring for two-panel setups unless the voltage math forces parallel. Do that and the station refills itself every day the sun is up.