
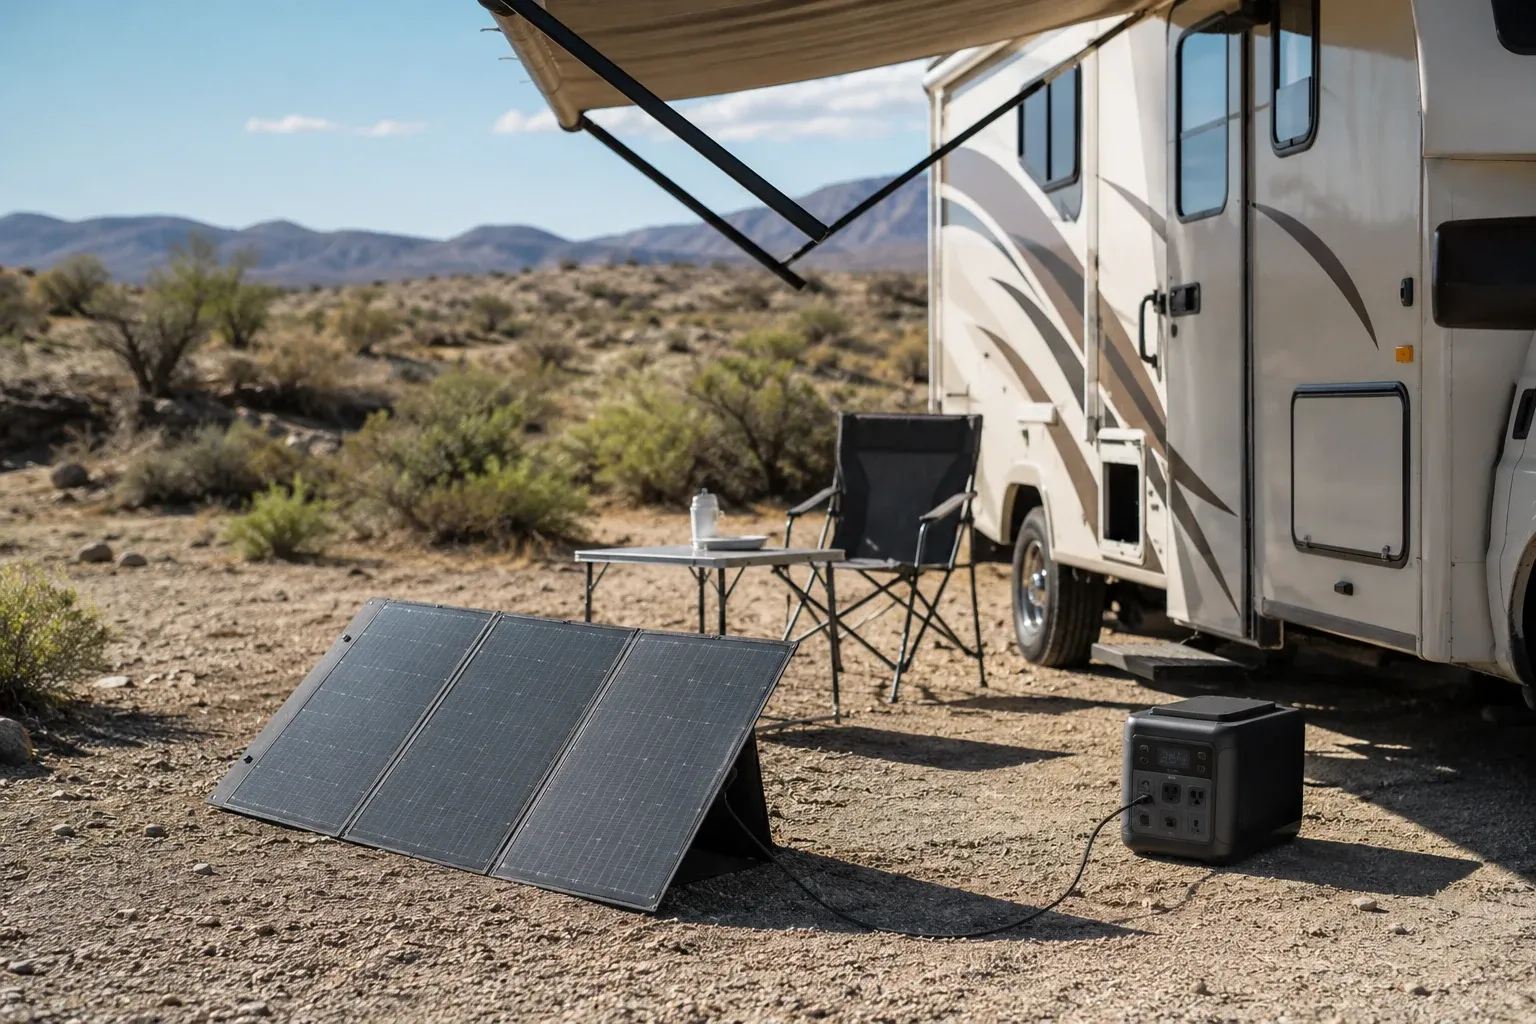
There is one decision that shapes every RV solar setup, and it is not which power station you buy. It is whether you want a system you carry or a system you mount. Get that right and everything else — panel wattage, cables, where you park — falls into place. Get it wrong and you end up with roof panels that never see the sun because you parked under a tree to stay cool, or a portable kit you are too tired to set up after a long drive. This guide walks through both paths, the power budget that tells you how much gear you actually need, and the setup steps that take you from a box on the floor to a fridge running on sunlight.
The two ways to run solar in an RV
Before you buy anything, decide which of these you are:
Portable (grab-and-go). A power station that lives inside the rig and a set of foldable panels you deploy on the ground when you stop. This is where most people should start. You can park the rig in the shade to keep it cool and still set the panels out in full sun. You can angle them at the sun and re-aim them at midday for a real boost. And when you get home, the whole thing comes inside as house backup. The trade is effort: you set up and tear down the panels at every stop.
Mounted (set-and-forget). Rigid panels bolted to the roof, feeding the power station (or a built-in battery) inside. They charge while you drive and need zero setup. The catch is that they only work when the entire rig sits in the sun — and on a hot day, sun is the last thing you want the rig parked in. Roof panels also produce less than ground-deployed panels because you can’t angle them.
Here’s what I’d tell a friend: if you’re newer to this or you move camp often, start portable. If you’re a full-timer who parks for days at a time and hates fiddling with gear, mount panels — and many full-timers eventually run both, roof panels for the baseline and a portable panel to top up on a slow day.
The trade-offs side by side:
| Portable (foldable) | Mounted (roof) | |
|---|---|---|
| Setup at each stop | 5 minutes | None |
| Charges while driving | No | Yes |
| Park in shade, charge in sun | Yes | No |
| Can angle at the sun | Yes (+15–25%) | No |
| Real-world output | Higher | Lower |
| Doubles as home backup | Yes | No |
| Cost per watt | Higher | Lower |
| Best for | Movers, beginners, dual-use | Full-timers, set-and-forget |
What you actually need
A working RV solar setup is four things:
- A power station sized to your loads (more on that below). For RV use you want a pure sine wave inverter, a regulated 12V output, and a solar input ceiling that matches your panels. The best solar generators for RVs roundup ranks the units worth considering.
- Solar panels — foldable for portable setups, rigid for roof mounts. Match their total wattage and voltage to the station’s solar input. The solar panel pairing guide covers the voltage math in detail; it’s the part that trips people up.
- The right cable and adapters. Most panels and stations use MC4 connectors, and most stations ship with an MC4-to-station adapter. Confirm it’s in the box for your specific pairing.
- A 12V charging cable so you can top up off the alternator while you drive.
That’s the whole kit. No fuse panels, no shunts, no charge controllers to buy separately — the power station has the charge controller built in.
Sizing for your rig — the power budget
This is the step people skip, and it’s the one that decides whether your setup works. List what you run, multiply by the hours you run it, and add a buffer. A typical weekend load for one or two people:
| Load | Power | Hours/day | Daily energy |
|---|---|---|---|
| 12V compressor fridge | 45W avg | 24 | ~1,080 Wh |
| LED lights | 15W | 5 | 75 Wh |
| Water pump (intermittent) | 50W | 0.5 | 25 Wh |
| Roof vent fan | 25W | 8 | 200 Wh |
| Phone + laptop charging | 90W | 3 | 270 Wh |
| CPAP (no humidifier) | 35W | 8 | 280 Wh |
| Subtotal | ~1,930 Wh | ||
| Inverter + conversion buffer (~15%) | ~290 Wh | ||
| Daily total | ~2,220 Wh |
A single-occupant weekend baseline lands around 2,200Wh per day. That number tells you two things at once. First, a 1,000Wh station can’t cover a full day on its own — you’ll need solar refilling it through the day, or a bigger unit. Second, if you want a real buffer for the day the sun doesn’t show, you’re looking at a 2,000Wh station paired with 400W of solar. Add a partner, a bigger fridge, or an electric kettle and the daily total climbs past 3,000Wh, which is where the 3,000Wh-and-up units earn their price.
Step by step: from box to charging
The actual setup, portable version:
- Place the station inside the rig somewhere ventilated and out of direct sun — under a dinette bench works. The cells don’t like heat.
- Unfold the panels outside in the sunniest spot you can find, even if the rig is parked in shade. Prop them on their kickstands and angle the face toward the sun.
- Run the MC4 cable from the panels to the station’s solar input. If you’re running two panels, decide series or parallel first — the pairing guide has the rule, but the short version is two-in-series for most setups, parallel if the combined voltage would exceed your station’s ceiling.
- Check the input reading on the station’s display. You should see solar watts climbing. If it reads zero in full sun, your panel voltage is outside the station’s window — recheck the wiring.
- Re-aim the panels at midday. A flat panel loses 15–25% versus one pointed at the sun. Two minutes of re-aiming is free energy.
That’s it. Plug your fridge and devices into the station and you’re running on sunlight.
The boondocking reality — multi-day math
Day one always looks great. The interesting question is day three. Say you’ve got a 2,000Wh station and 400W of solar, running that ~2,200Wh daily load:
- Day 1: Start at 100% (2,000Wh). Overnight you draw ~900Wh (fridge, fan, CPAP). Morning: ~55%. Through the day, 400W of solar returns ~2,100Wh — but you’re also drawing ~1,300Wh during daylight. Net gain ~800Wh. Evening: ~95%.
- Day 2 (sunny): Same pattern. You end the day near full again. This is sustainable indefinitely.
- Day 3 (cloudy): Solar drops to ~25% of nameplate — maybe 500Wh for the day. You draw 2,200Wh and replace 500Wh. Net loss ~1,700Wh. You end the day around 10–15%.
- Day 4 (still cloudy): You’re rationing. Fridge only, lights off, charge the phone in the truck.
The lesson isn’t “buy a bigger battery” — it’s “size your solar for the cloudy day, not the sunny one.” If you boondock in cloudy country, the move is more panel wattage, not more battery. A second 200W panel costs less than stepping up a battery class and does more for sustained off-grid life.
Cold weather and the things nobody warns you about
Two cold-weather facts that catch RVers out:
- LiFePO4 won’t charge below freezing. If your station cold-soaks overnight in an external bay or an unheated rig, solar charging won’t start until the cells warm up — usually mid-morning. Keep the station inside the living space overnight.
- Capacity drops in the cold. Available watt-hours fall 10–20% when the unit is cold, so your day-3 math gets tighter in winter. Plan for it.
And one that isn’t about cold: fridge compressors surge on startup. A residential-style RV fridge can pull 1,200–1,800W for half a second when the compressor kicks in. Make sure your station’s surge rating clears that — 3,000W of surge handles it comfortably, which is why the Jackery Explorer 1000 v2 and similar units list a surge figure well above their continuous rating.
Five setup mistakes that cost you power
- Parking the rig in the sun to charge roof panels. Now the rig is an oven. Use portable panels and park in the shade.
- Leaving portable panels flat. Angle them. It’s the single cheapest way to add 20% output.
- Undersizing solar for cloudy days. Battery covers one bad day; solar covers the trip. Buy panel wattage.
- Running the fridge through the inverter when it could run on 12V. A 12V fridge plugged into the station’s regulated 12V output skips the inverter and saves 10–15% of every watt-hour.
- Forgetting the drive-charge cable. Topping up off the alternator on a travel day is free energy you already paid for in fuel.
Recommended gear for an RV setup
The right station depends on how you travel. For weekend trips, a 1,000Wh unit with 200W of solar is plenty. For multi-day boondocking, step up:
- The Jackery Explorer 2000 v2 is the lightest 2,000Wh unit and takes up to 1,400W of solar — the best balance for RVers who actually move the unit.
- The Bluetti AC200L expands to 8,192Wh and accepts 1,200W of solar, for full-timers with serious loads.
- The EcoFlow Delta 2 Max balances fast charging with expansion if you want to grow the system over time.
Full breakdown in the RV solar generators roundup, and the RV & Van Life section collects everything we’ve published for life on the road. Every figure here follows our testing methodology.
The short version
Decide portable or mounted first — portable for most. Build a power budget (a weekend baseline is ~2,200Wh/day), then size the battery to cover one bad-weather day and the solar to cover the trip. Keep the station cool and out of the sun, angle the panels and re-aim at midday, run 12V loads on the 12V port, and top up off the alternator when you drive. Do that and the rig runs on sunlight with the fridge never skipping a beat.